Portrait Drawing Video
Monday, April 5, 2010
I want to show you one of my latest videos showing how I draw a portrait. This is a time-lapse portrait drawing video watching which you can see how I used my favorite hatching and cross-hatching technique to draw this portrait of a young couple.
Portrait drawing video (using cross-hatching technique)
Portrait drawing procedure
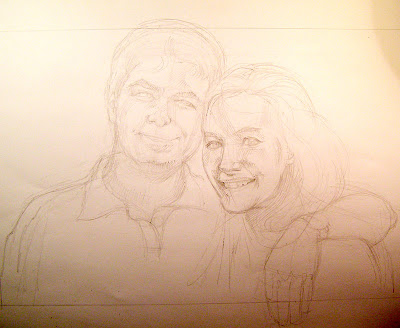
As always this post is not limited by just a video, I also want to give you some explanation concerning the drawing process. So I began with drawing of a rough sketch with a hard pencil on an A3 paper sheet.
Actually I followed my standard portrait drawing procedure. When drawing the sketch I slightly hatched the future shading areas of the portrait and indicated their edges. As you can see on the video I put a little piece of paper under my working hand. This is to avoid smudging of the drawing and to keep the portrait neat. I defined the portrait outlines with a very thin 0,1 mm capillary pen. In order to create the tone scale, I hatched the darkest parts of the portrait such as eye pupils, eyelashes, corners of the mouth. Then I applied fine hatching lines on the shaded areas and used crosshatching where necessary to create a higher level tone. Since I was going to color the portrait I took into account that coloring would make the portrait even darker, so I concentrated mostly on shading areas being prudent with other less dark places of the portrait. I tried to work all over the drawing simultaneously without completing separate parts of the portrait at once. It allows me to control the texture consistency in the entire portrait. I made the outline of the drawing more distinct by means of a thicker 0,5 mm capillary pen and I used the same pen to draw hair too.
This time I did not use color pencils to color the portrait. The whole coloring job had been done using the Adobe Photoshop software.
You might also like:
Drawing a cross-hatching portrait
Drawing a family portrait
*****


1 comments:
fantastic!!!
Post a Comment